Create a new Event
Administrator -> Matukio Events -> Event Management -> Events
You need to create a category for Matukio first!
Just click on "New" in the events overview in Matukio (in the Joomla Adminstrator area). After this the event creation form will show up (It is the same for editing events).
The event creation form can be a bit overwhelming at the beginning, as there are a lot of options and settings. But you only need to fill out the required ones (Event title, short description, Category and Location) to create an event. Everything else is optional.
The form is divided into six different tabs.
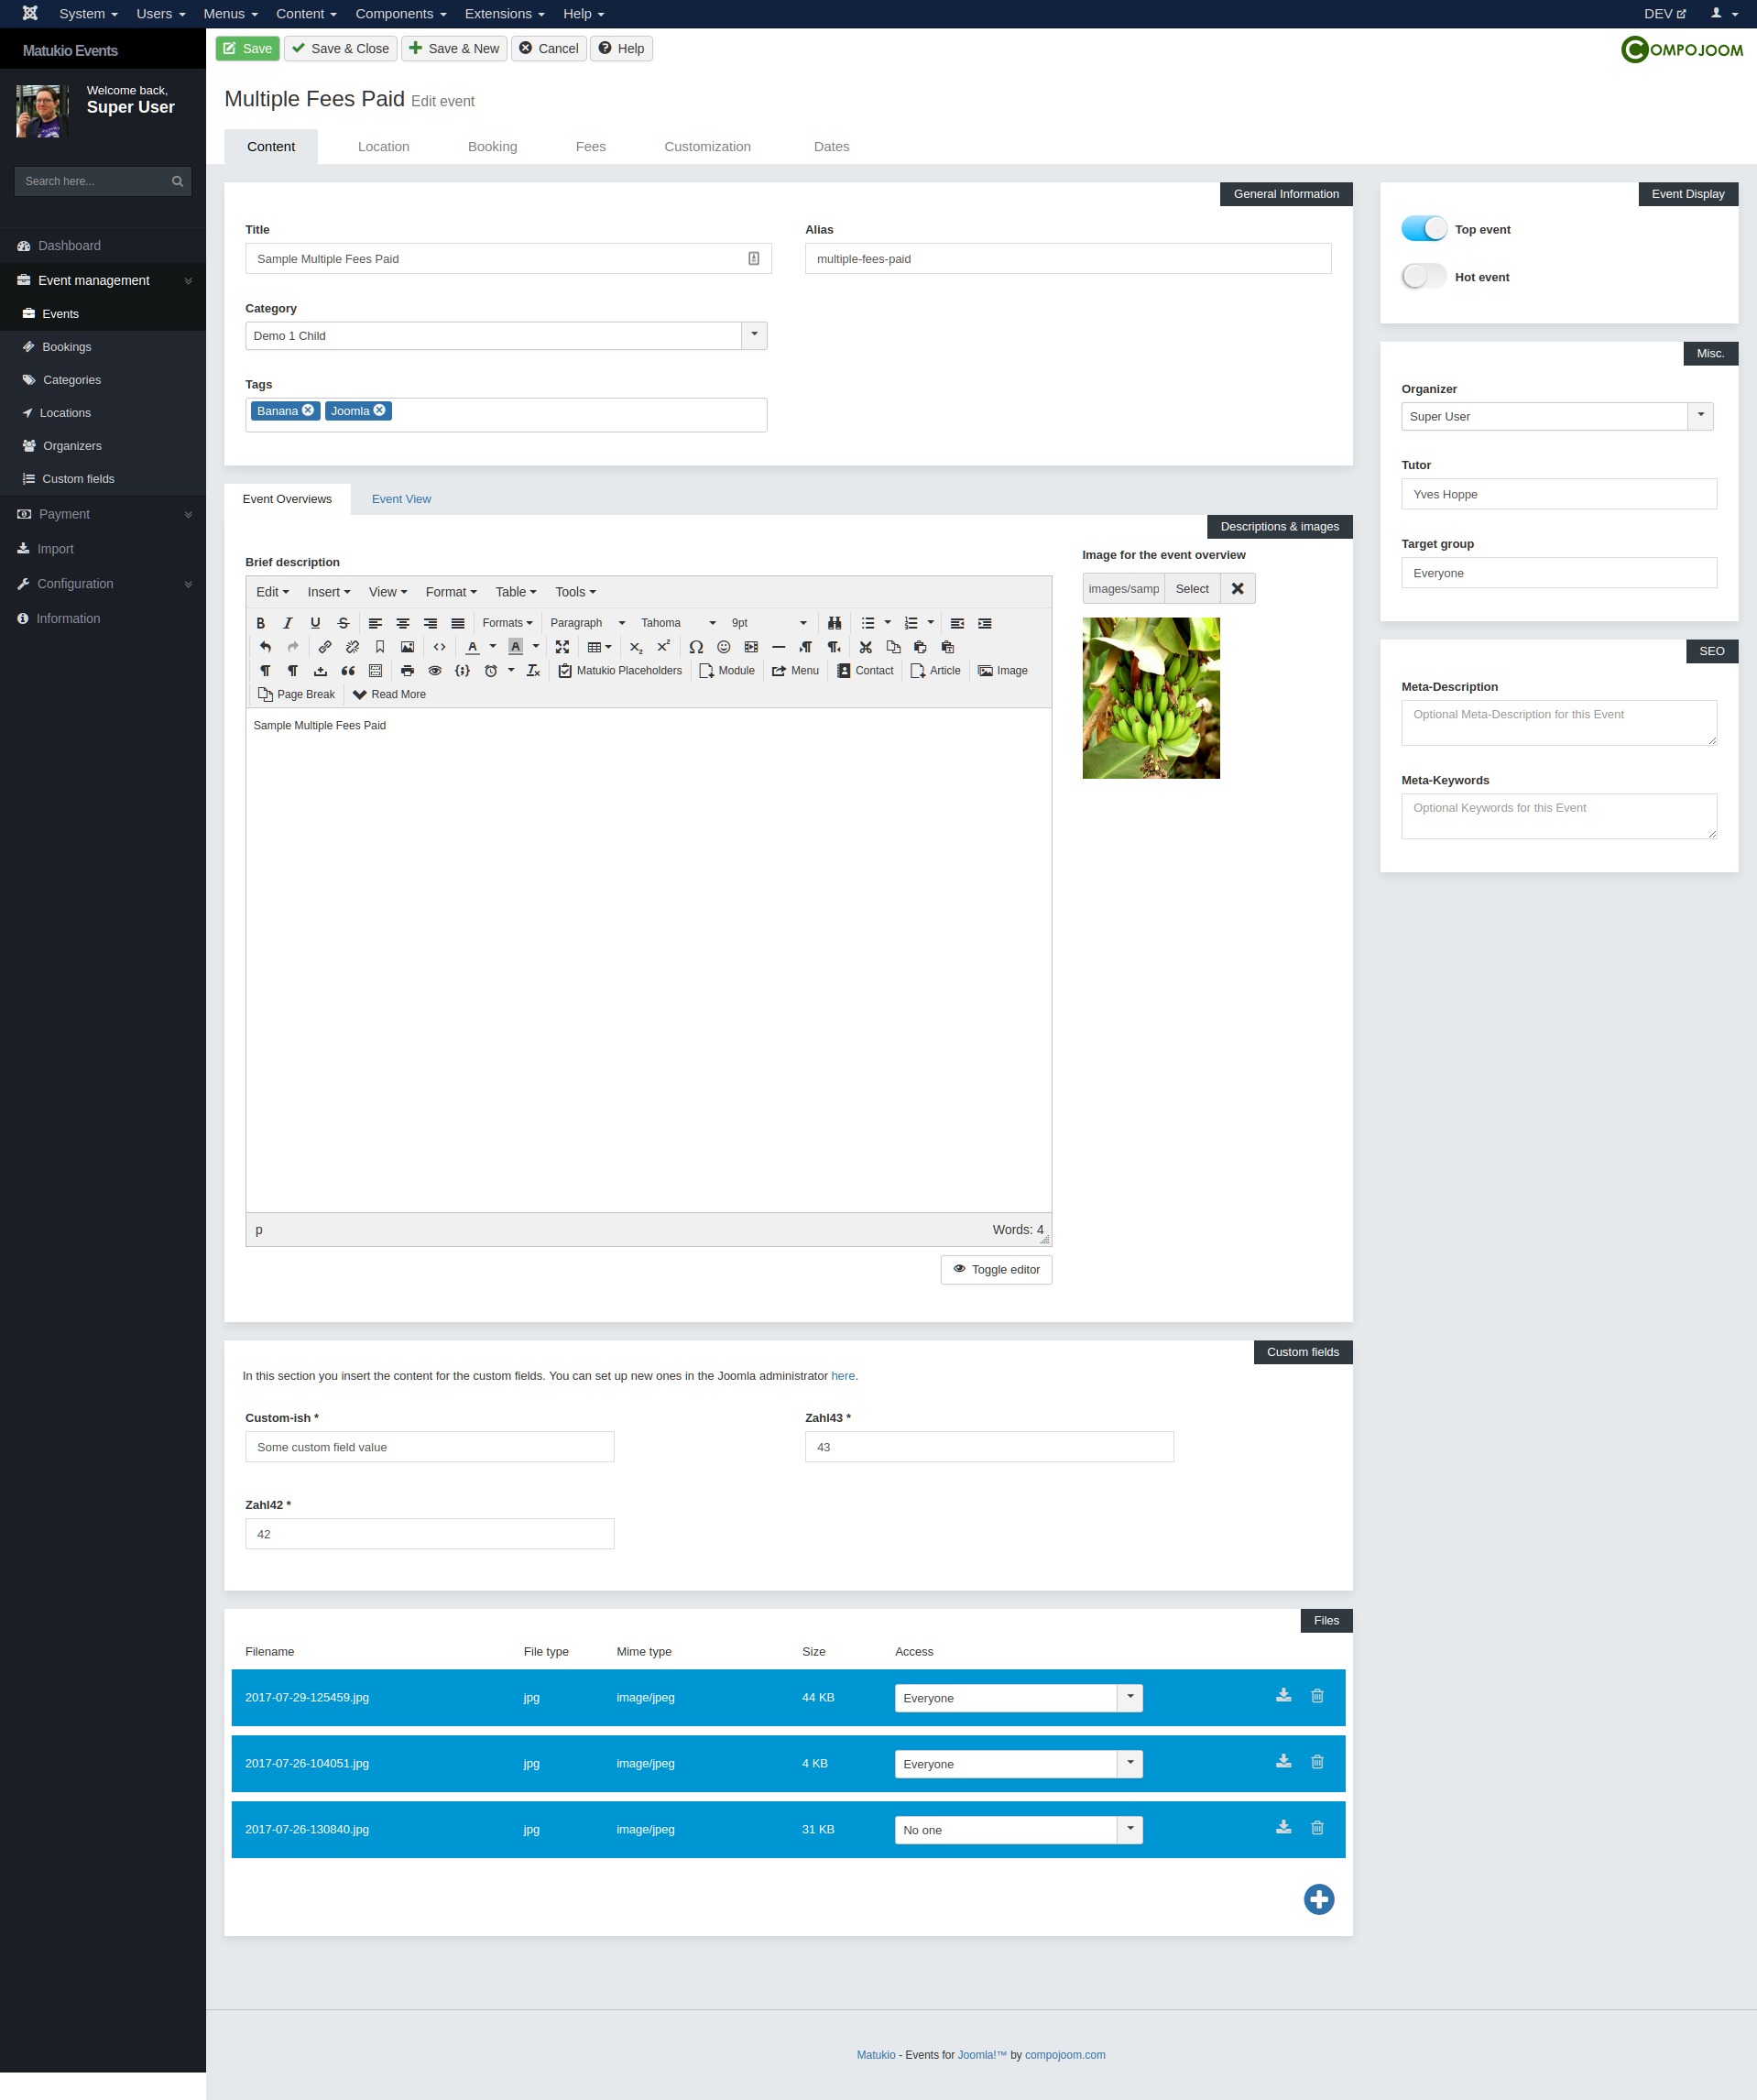
Content Tab
Here you set up the information related to the event, like description, title or files.
Event Alias
The event Alias is used for building search engine friendly URLs in Joomla. If you keep that field empty it is going to be auto-generated. No special characters, except the hyphen and underscore are allowed here. (No spaces!)
Brief description
This one is used for the event-list overview, calendar, upcoming events view etc (and for the event detail page if you don't supply a detailed description).
Please be careful with the HTML markup you use in there as it may break the layout. And you should generally not use more then some lines of text.
Description
If you don't have a description, the brief one is shown instead.
This is the longer event description, shown in detail pages, printing views on the event etc. You can use any HTML and Joomla plugins.
You can also show text only to certain users. For example:
[sem_paid]Your Text[/sem_paid]
"Your text" then will only be shown to logged in participants, who already paid their event fees.
Images
Event Overview image
This one is used in the event overview, upcoming events etc. It should be in the portrait format and rather small.
Event detail image
This one is used in the event detail page and in the calendar. On the academy template it takes 100% of the size. It should be in landscape format (for example 16:9) and larger.
Event display
Top Event / Hot Events
Features this event and highlights it in the frontend (also adds additional CSS classes to the event, so you can style it differently). You can also show only featured events with an "Featured View" menu entry.
Organizer
This is the Joomla user who is going to be presented as organizer in the event. And if allowed also the person who manages the event and bookings in the frontend or backend of Joomla (if he has the required ACL rights for that - core.edit.own / core.create).
The selected user also receives a copy of the booking confirmation emails and receives the contact requests emails for the event etc. You can also set up operator addresses in the Matukio Events configuration, that receive all emails as copy.
Organizers can also have their own detail / information pages.
Tutor
Optional tutor / teacher / lecturer text that is shown in the event details.
Custom fields (Content)
These custom fields can be displayed at various positions, like the event-list or the event details (Not related to booking!). This way you can create additional content elements to be shown in the frontend. You have to set them up in the custom fields view in the Matukio administrator (Event management -> Custom fields).
Files
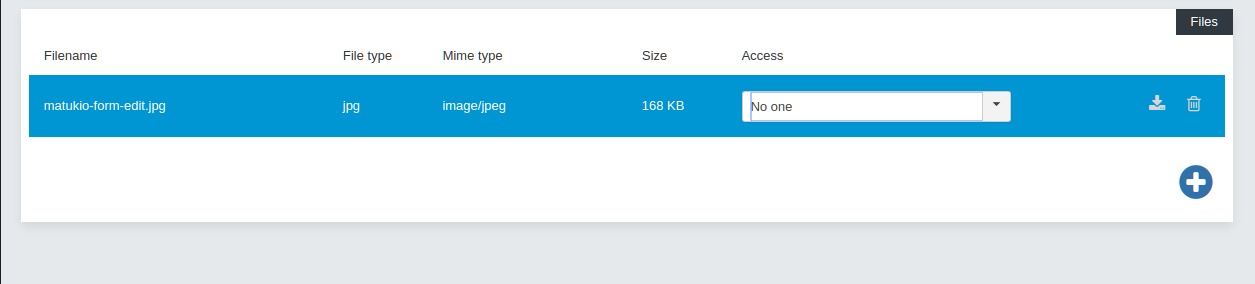
You can add files to the event, which can than be downloaded in the Joomla frontend. Just click on the plus sign and drag & drop your files in the blue square. (You can upload multiple if you want).
You can set up who is able to access the file. Like only registered Joomla users, booked users, users who paid etc.
Location Tab
Here you can choose between predefined locations (which you set up before in the locations view). Custom locations (just for this event, without detail page) or if the event is an webinar (which has no location at all).
Booking Tab
In the bookings tab you can set up, how many people should be able to book this event. You can limit the number or set it to unlimited. You can also completely disable online booking for this event.
Maximum Participants and what should happen if this number is reached
Once the maximum number of participants has been reached you can either decide to disallow booking for this event in total or you can continue booking on the wait-list. By default bookings on the wait-list are no longer charged (e.g. not paid directly after booking), you can change this behavior in the backend.
Please note: Participants are not automatically moved from the wait-list to an active booking without a cronjob!
Min. Participants
This is used for the Auto confirmation cronjob in Matukio. If you set this to a certain amount and this is not reached X days before an event it is going to be automatically cancelled.
If you don't want to use this cronjob you can just ignore this setting.
Maximum participants per booking
You can limit how many places can be taken by one single booking. With recurring fields per place you can also query for the information of the additional participants.
Create a custom booking form for this event
You can overwrite the default booking form completely (or just add fields to it), by clicking on Create Custom booking Form on the right. This creates a whole new form you can edit and change for this particular event.
Please note: When you delete / edit the custom booking form after bookings have been created you can run into issues with old booking data!
Fees Tab
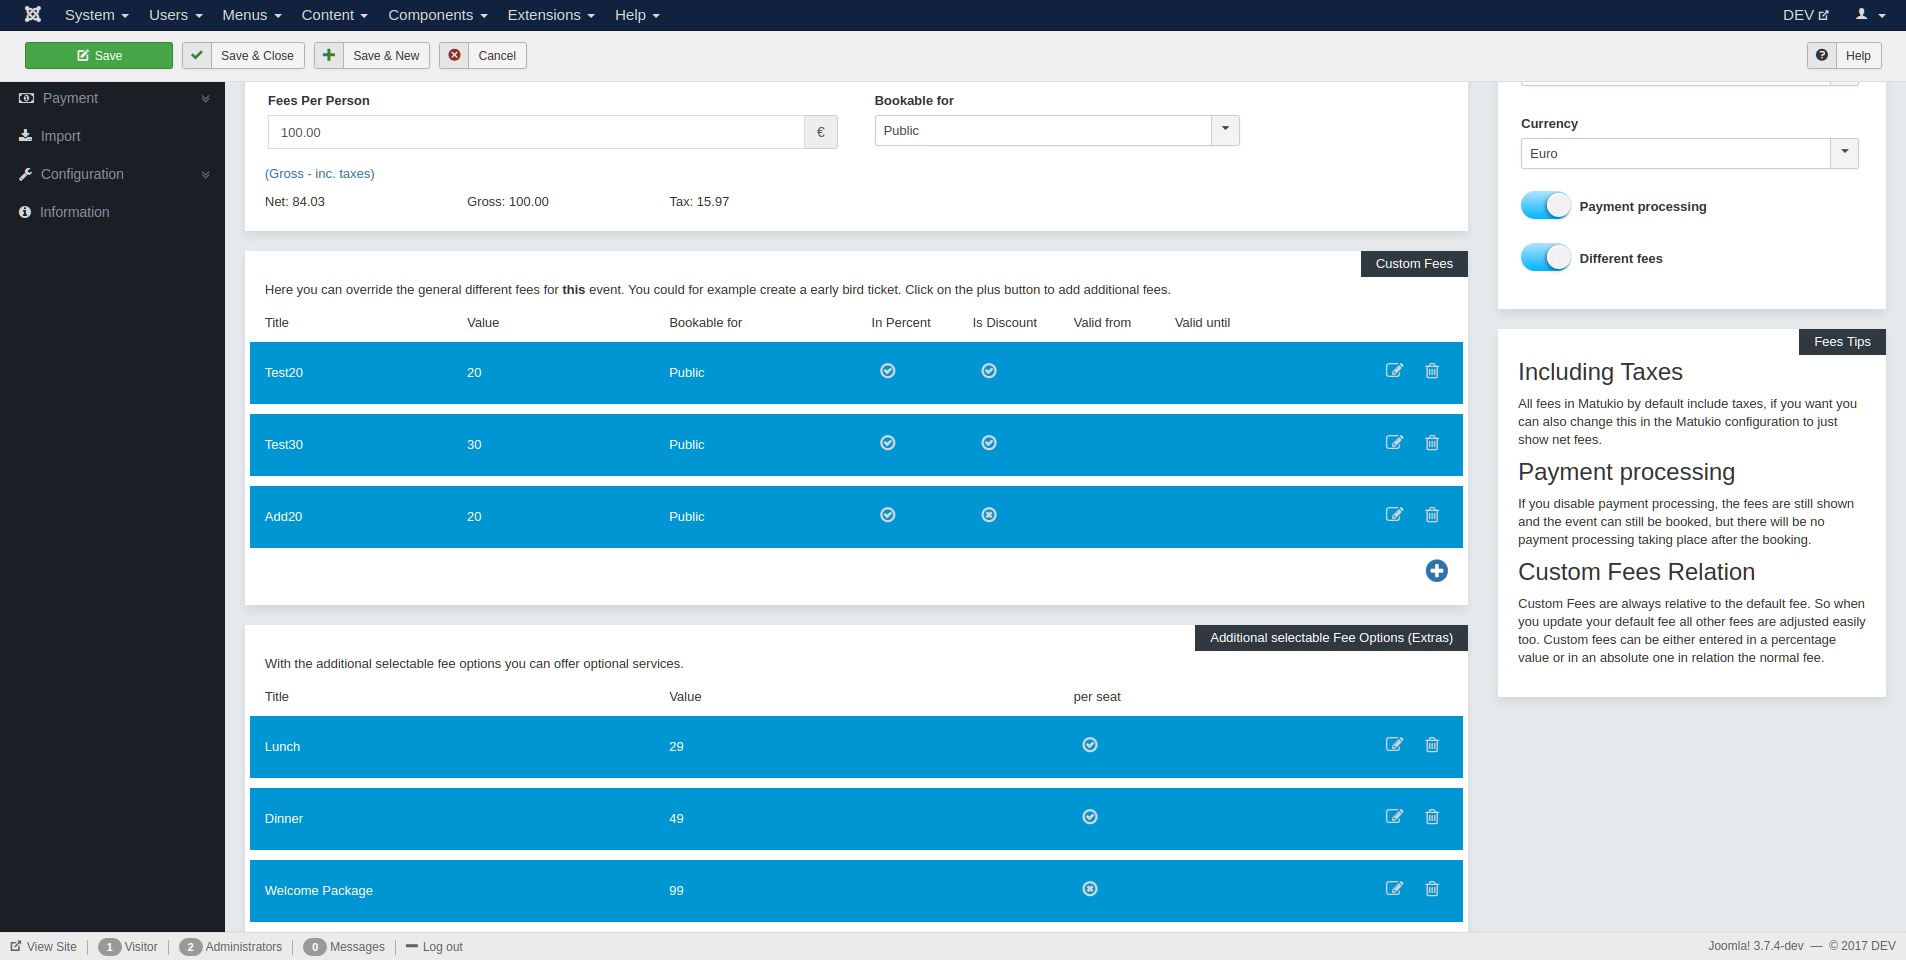
Here you can set up your event fee, choose the tax rate and currency and enable or disable payment processing for this event. If it is a free event, there is nothing to set up here.
Including Taxes
All fees in Matukio by default include taxes. If you want you can also change this behavior in the Matukio configuration to just show net fees. (Not necessary if you don't have a tax)
Fees per Person
This is default fee per person / place. All other fees are calculated with this one as base. E.g. if you are changing it all other different fees are changed too. You can also set which users are allowed to book it.
Payment processing
If you disable payment processing, the fees are still shown and the event can still be booked, but there will be no payment processing taking place after the booking.
Custom Fees
Custom fees can be set up globally for all events in the custom fees view. If you want you can override them in the event itself. They can be either be entered in a percentage value or in an absolute one in relation the normal fee. And can have a published up and down date.
Additional selectable Fee options
These are shown as checkboxes in the frontend and are additional selectable for a booking. They are entered as absolute value and can be either per booking or per place / person.
Dates Tab
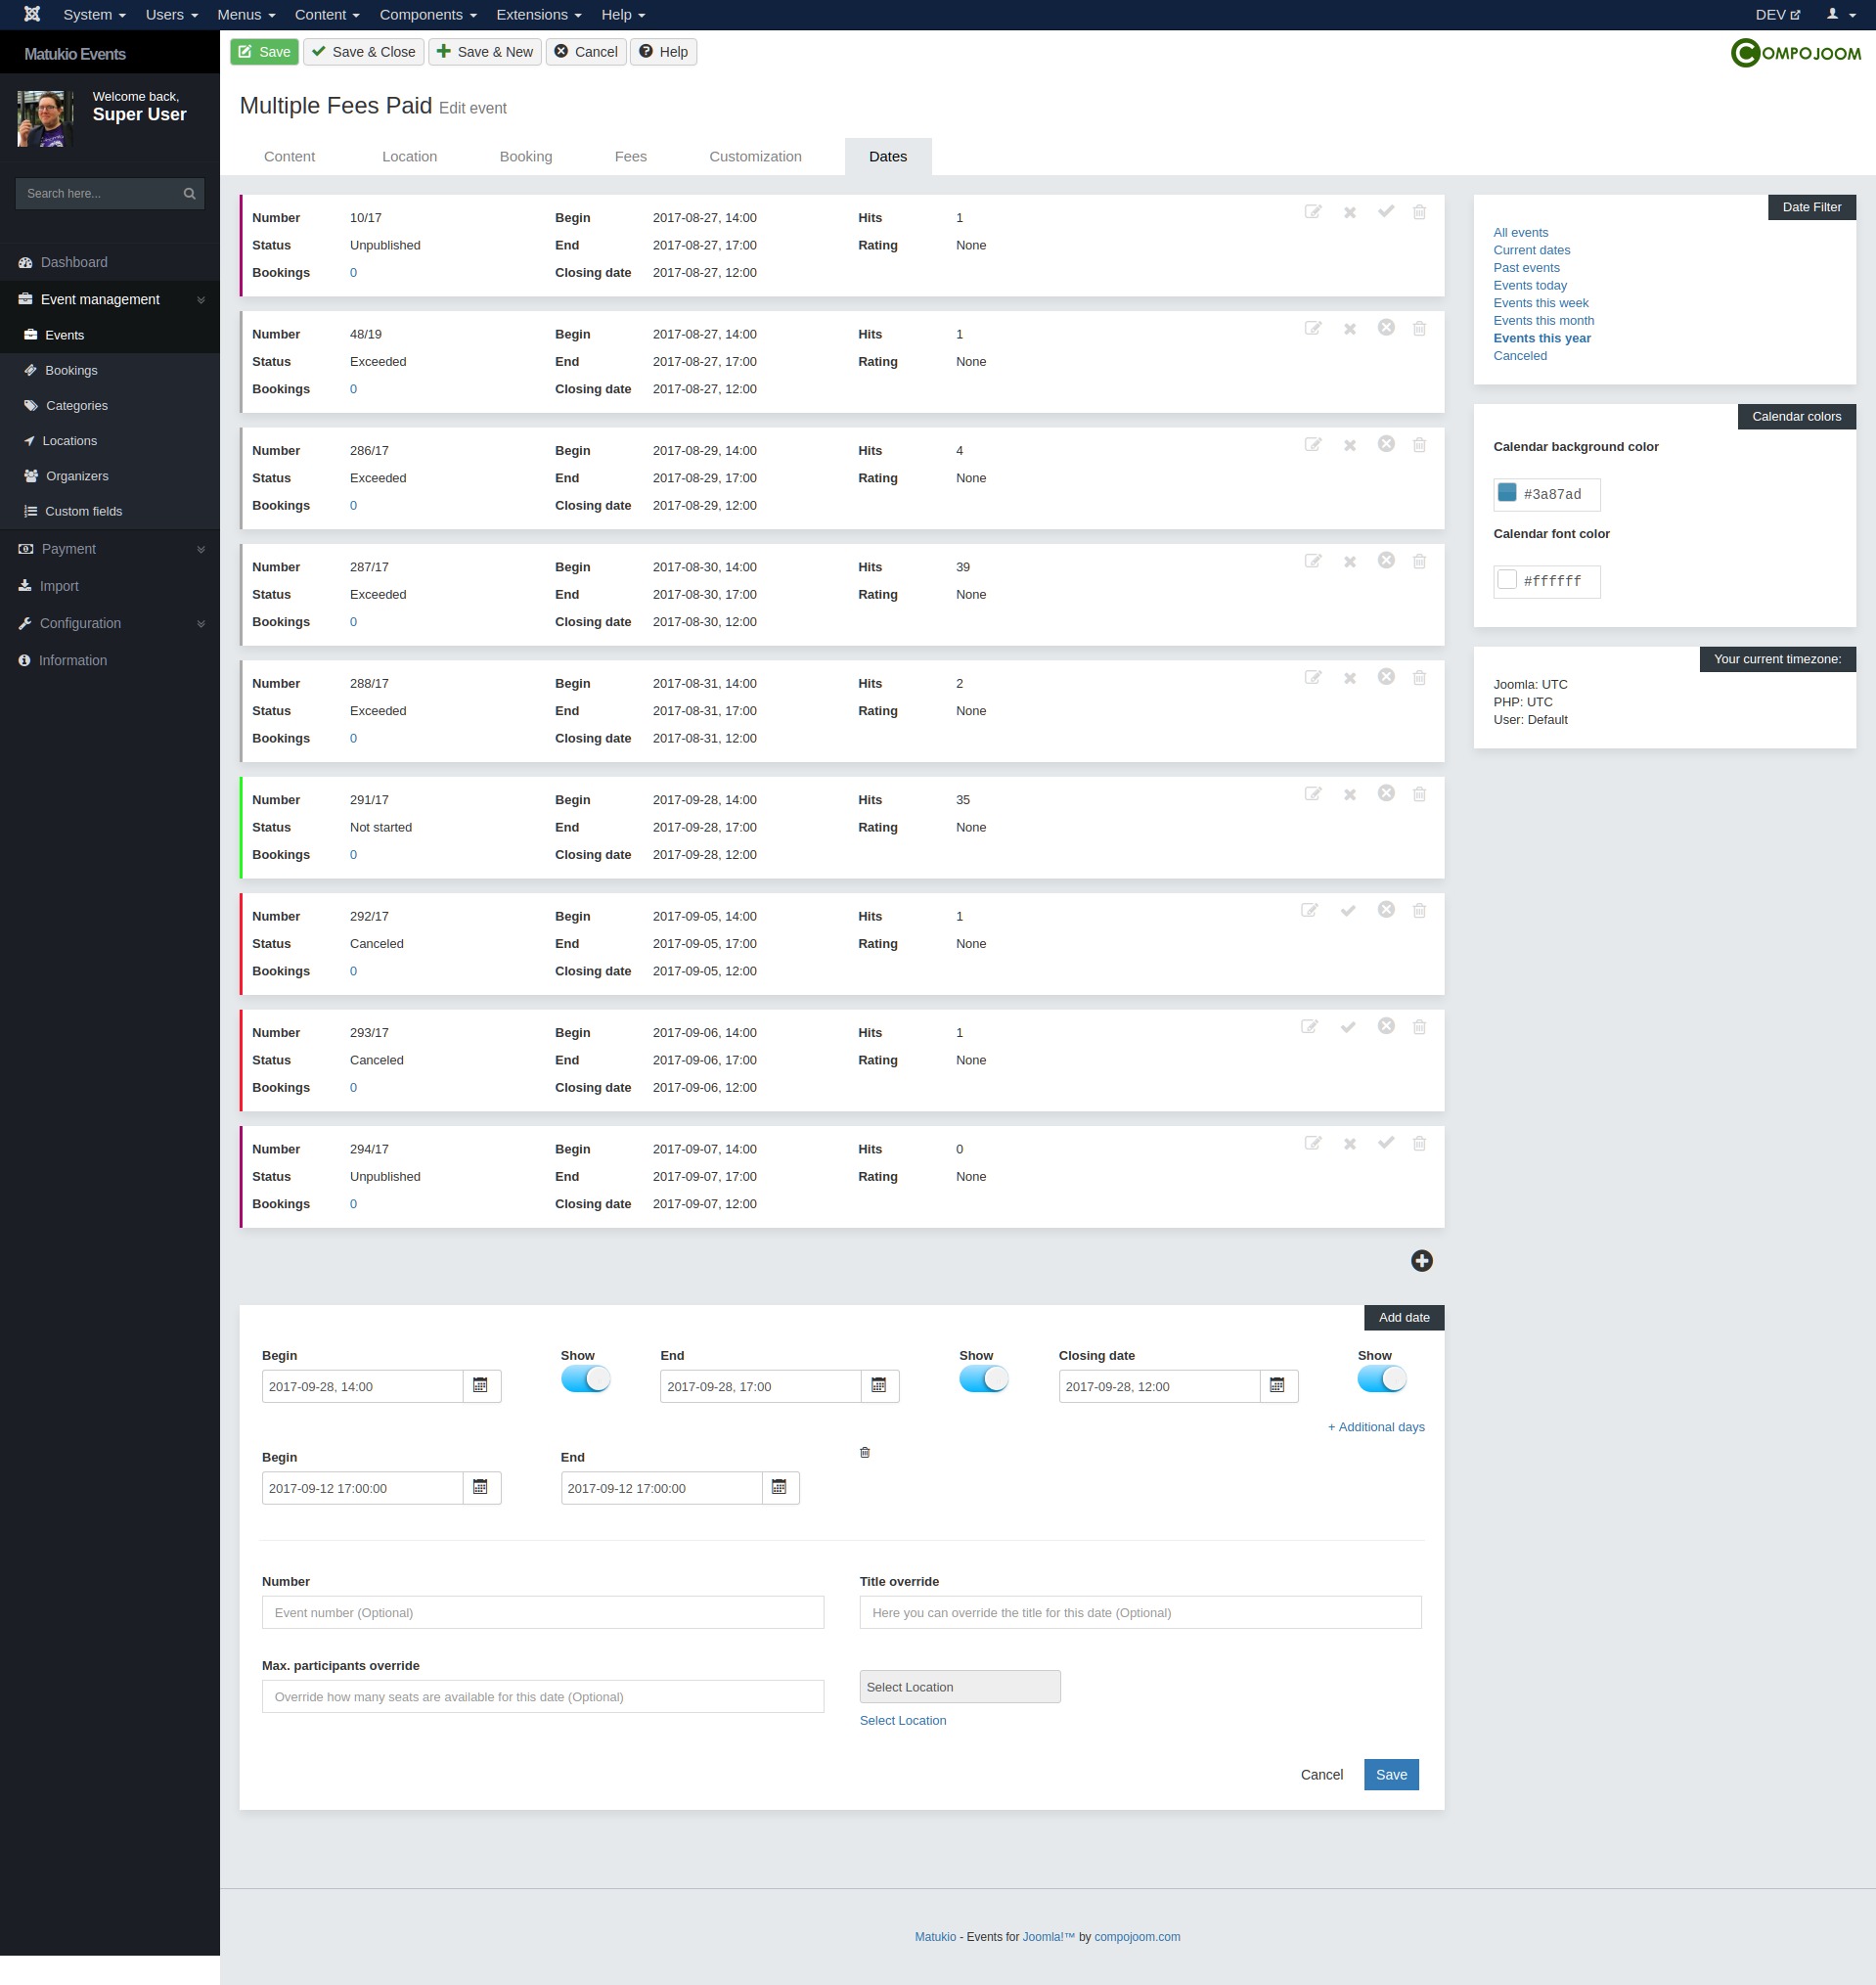
Batch date generator
If you want to generate multiple dates for this event at once. Just click on Batch create dates. After this a date generator will show up.
In it you can select repeating types, the count of dates or how long the dates should be repeated.
After you have set up your recurring settings click on generate. After this a list of dates will show up. You can also edit them manually following the default date scheme: YYYY-MM-DD. Just click on the little x button of every date to remove it.
The span between begin and end of an generated date is depending on days you select.
Please note: You shouldn't generate more then 50-100 dates at once per event for performance reasons and you can always create new dates later.
Customization tab
Here you can override some global settings. Like creating a custom booking confirmation email.